Special Reports
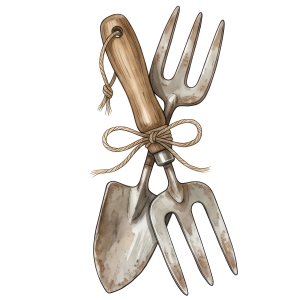
 Gardening doesn’t have to mean hours of upkeep, constant troubleshooting, or a perfectly curated backyard. In fact, some of the most productive edible plants are also the easiest to grow. By choosing resilient, low-maintenance crops and planting them at the right time, even the most hands-off gardener can enjoy a steady, abundant harvest.
The key is to break your garden into two simple phases: early spring planting and post-frost planting. With the right mix, you can keep your garden producing with minimal effort from the very start of the season through summer.
Early Spring: Cool – Weather Crops That Practically Grow Themselves
These crops thrive in cooler temperatures and can be planted before the last frost, making them perfect for getting a head start without much work. Continue reading
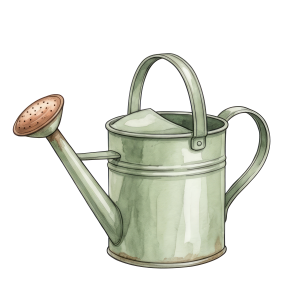
 In recent years, gardening has undergone a subtle yet necessary transformation. Once associated with meticulous pruning schedules, perfectly edged lawns, and hours of weekend labor, gardening has become far more practical—and enjoyable. Low-maintenance, or “lazy,” gardening is emerging as one of the most popular approaches for modern homeowners, offering a way to enjoy nature without the constant upkeep.
At its core, low-maintenance gardening is not about neglect. Rather, it is about working smarter instead of harder. It focuses on designing a garden that largely takes care of itself by using the right plants, materials, and strategies from the beginning.
Choose the Right Plants
One of the key principles of lazy gardening is choosing the right plants for your environment. Native plants, in particular, are a cornerstone of this approach. Because they are naturally adapted to local soil, rainfall, and climate conditions, they require far less watering, fertilizing, and pest control. Once established, they can thrive with minimal intervention. Continue reading
 What are Green Smoothies?
Leafy greens are some of the best vegetables you can eat. They are full of vitamins, minerals, fiber, phyto-nutrients and all sorts of other good stuff. Getting more of those vegetables in your diet should always be a big nutritional goal. They make great salads, you can add them to soups and stir-fry, or steam them and have them as a side dish with dinner.
Those are all great options, but even so you don’t end up with a whole lot of greens in your diet. The fact is that vegetables are best consumed raw and it’s hard to consume several cups of greens a day without starting to feel like a rabbit.
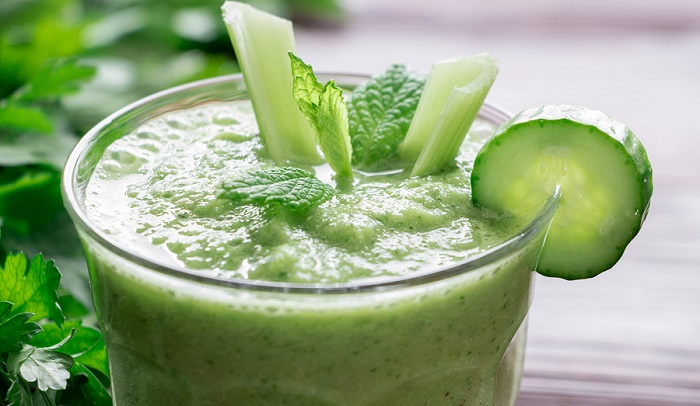
Thankfully there’s an easy way to consume several cups of greens in one meal … and it’s tasty too. I’m talking about green smoothies. If you haven’t tried them, you’re in for a treat. If you have tried one or two and didn’t like them, you just haven’t come across the right green smoothie for you yet.
There are recipes out there for any taste buds from sweet and refreshing, to savoury and spicy, and even some thick, rich smoothies that almost make you think you’re having a milk shake.
At its most basic a green smoothie is a mixture of green leafy vegetables, other fruits or veggies and water. Everything is thrown in a blender and blended until smooth. The end result is a thick smoothie. Continue reading